
Kawandi is a style of quilt created by the Siddi people of India, traditionally done by hand. It is truly scrappy and improvisational. While I like doing hand work, I was also intrigued by faster machine methods. I've listed some resources at the end of this tutorial if you are interested in creating Kawandi by hand, want to see another machine tutorial, want to see some footage of Siddi creating Kawandi by hand, and a discussion of creating Kawandi in your own style.
This tutorial describes a new way of creating Kawandi by machine. These are NOT traditional Kawandi, but inspired by the joy and movement of Kawandi-style.
I started with a background piece of fabric approximately 8x10", a piece of batting of the same size, and many scraps of batiks or quilting cottons.


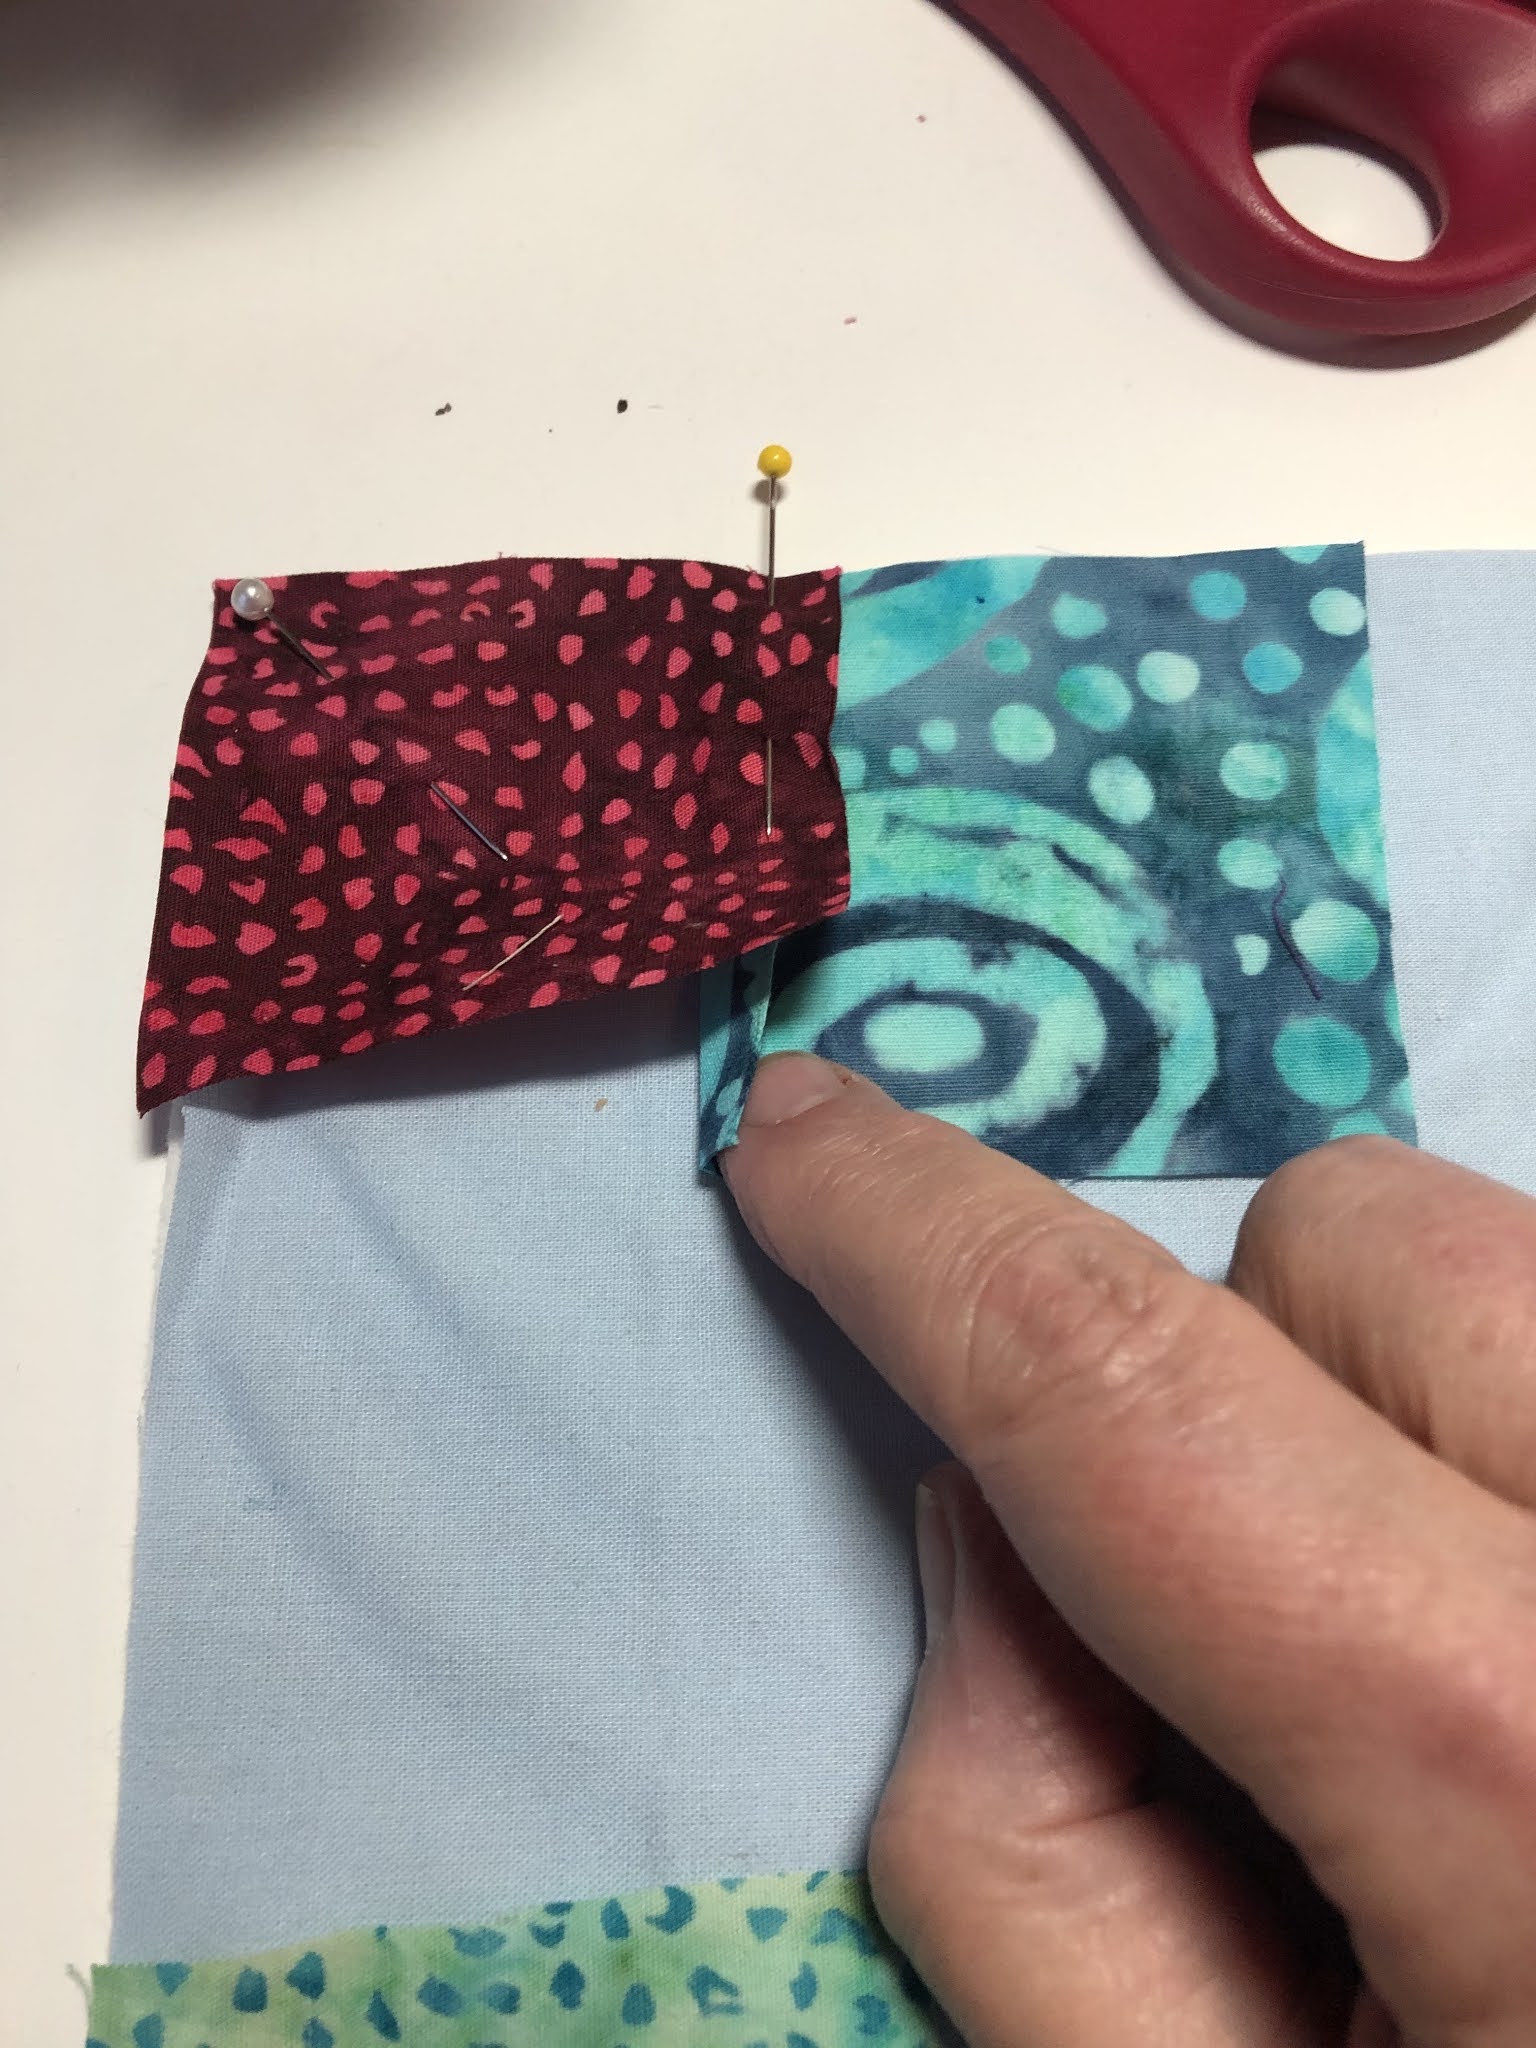
Pin the piece in place along the edge. This will be machine sewn.


Notice that it doesn't matter if you use short scraps, or long scraps. And again, its impossible to tell from this image because I'm using batiks, but you are looking at the right side of the background, and the WRONG side of the colorful scraps.
6) Sew 1/4 in seam all the way around the edge, removing pins as you come to them.


There should be no raw edges of fabric along the edge of the piece because they are either in the seam OR they are folded under.


12) When you are on the 4th side, approaching the beginning of your stitch line, turn the corner about 1/4" or 3/8" before you get there, to start the 'spiral' of stitching.

13) To place the next piece, fold under 2 edges. Finger press or iron as necessary.
Overlap the unfinished edges of previous scraps.


15) To keep a small scrap straight as you sew over the edge, it may be necessary to use long tweezers or stiletto.

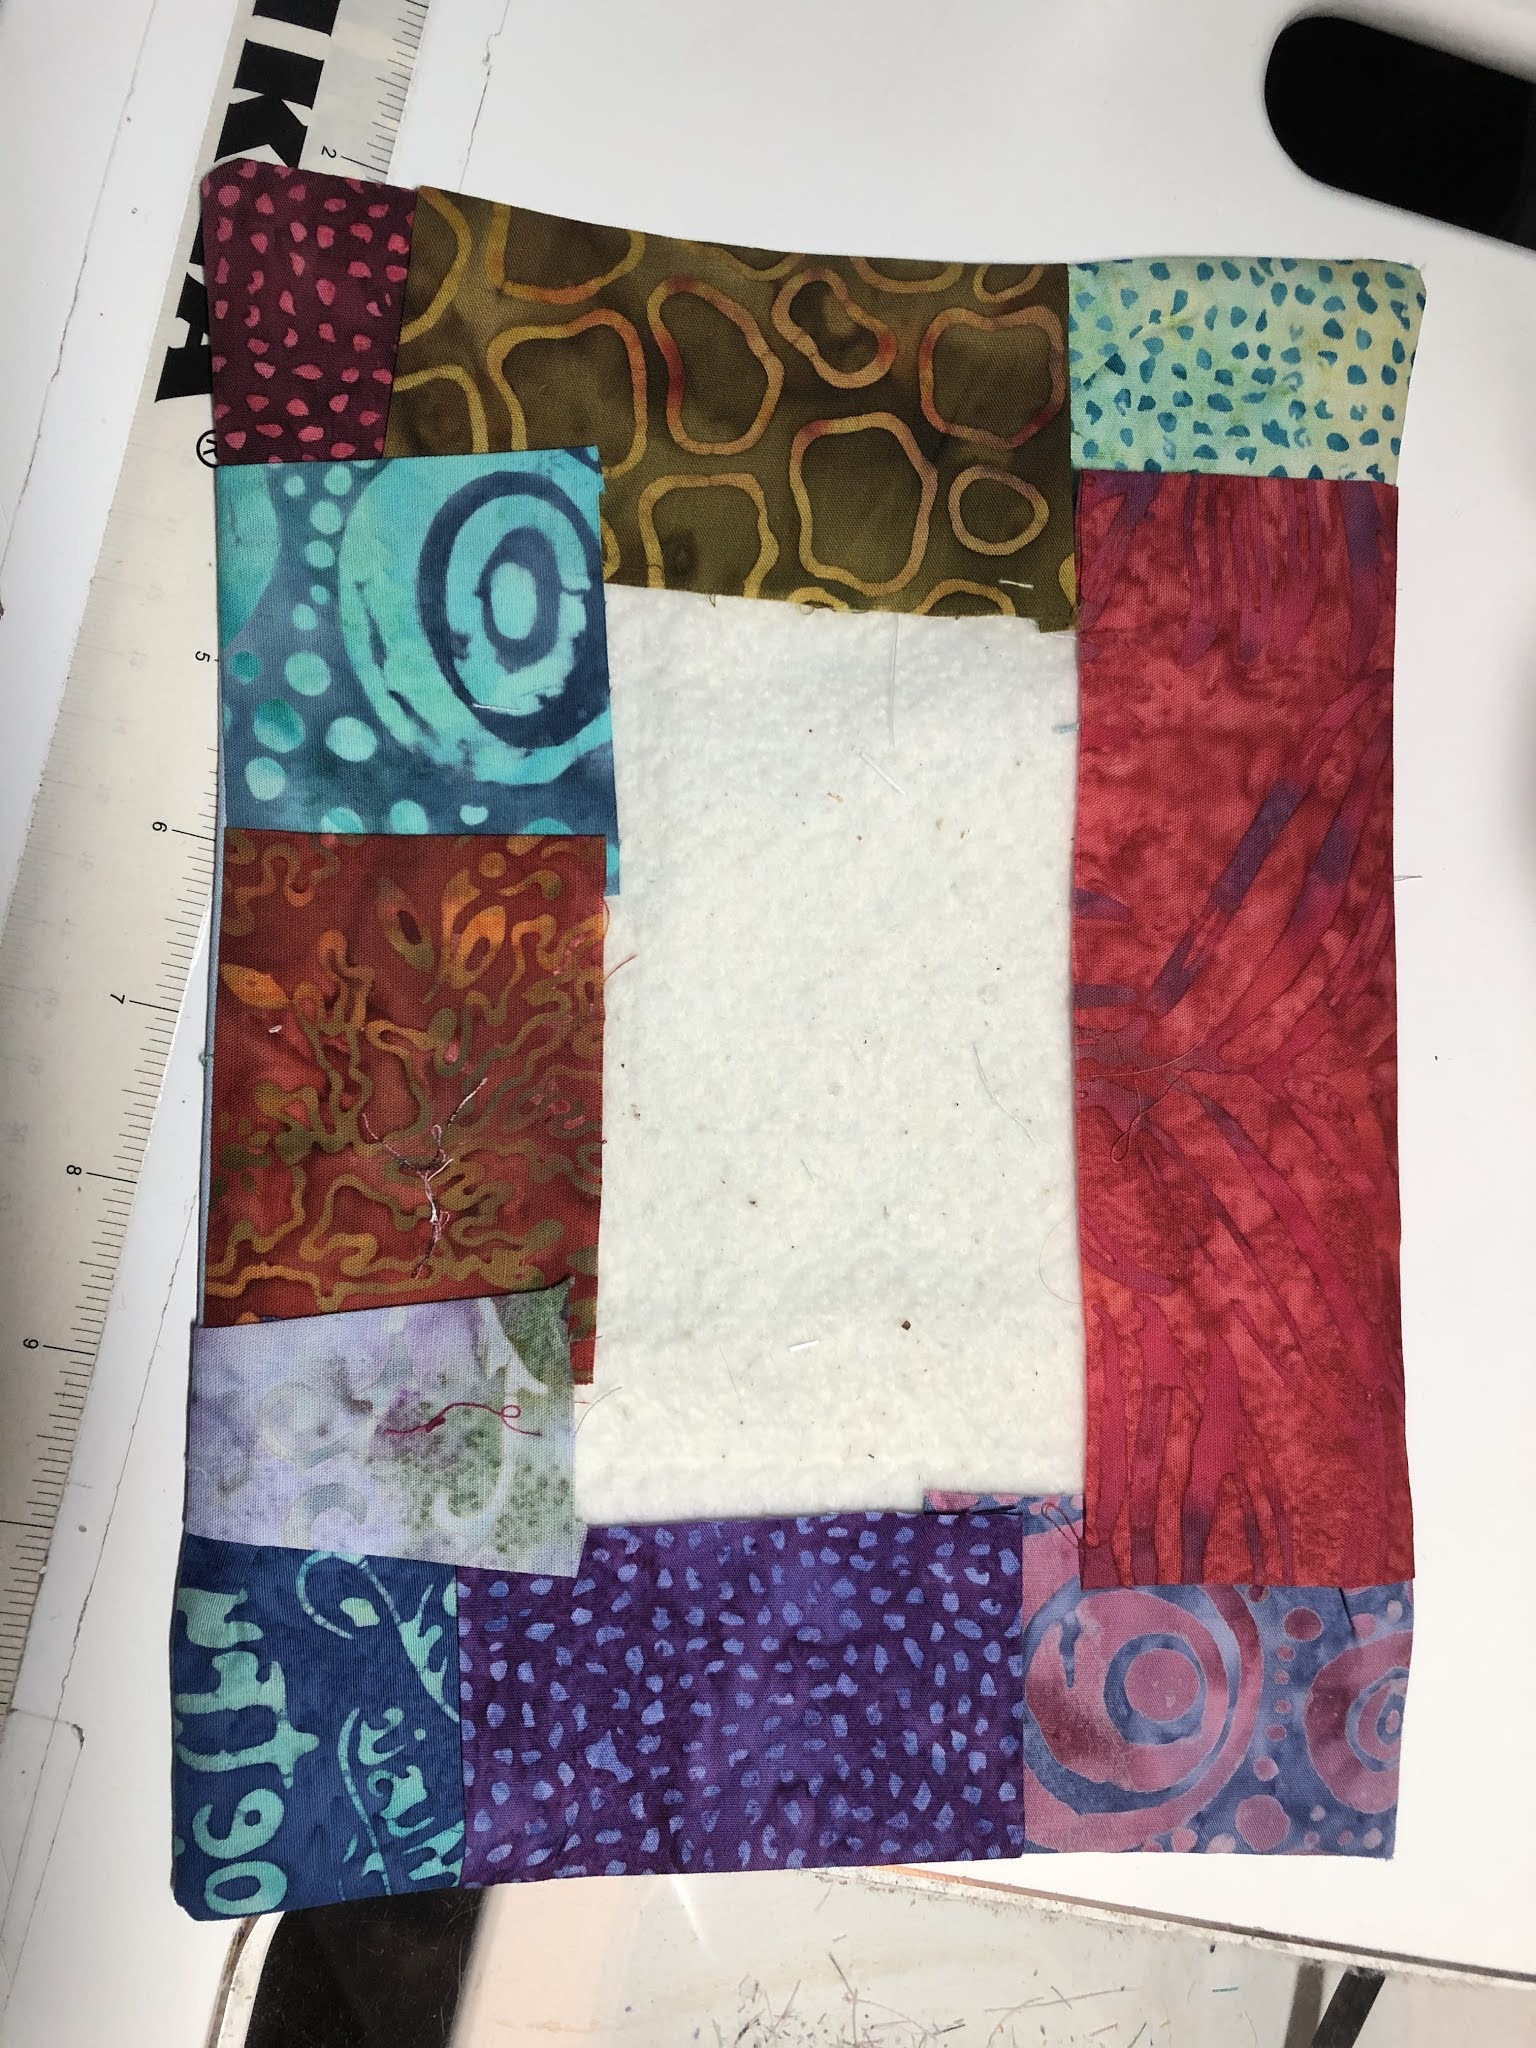
16) Continue placing scraps and sewing in concentric rectangles, into the center.
Note: this picture is from another project than the ones above.


Although not traditional at all, I've already broken so many 'rules', that I just decided to make this mine.
Also, I'm aware that traditional Kawandi have 'folded flowers' in the 4 corners. Include them if you wish.
Make it yours!
Paula
RESOURCES:
How to make a Kawandi by hand by Kieren Dutcher
How to make a Kawandi by machine (with binding) by Mel Beach
Margaret Fabrizio travels to India to learn Kawandi from Siddi quilters:
Margaret Fabrizio shows her own Kawandi quilts, and talks about making them in her own style.
https://youtu.be/4NRxqOqp_UA
Oh I hadn't thought about this as a quilt as you go quilt. This is wonderful. Thank you for the tutorial. I was going to make one of these, and this technique makes it so much easier.
ReplyDeleteThat's great! Let me know how it works out, and if you have any suggestions to make the instructions clearer
DeleteI'm glad you figured out a way to make a Siddi - type quilt by machine as I'm not known for my hand sewing. Sujata Shah of The Root Connection also makes and teaches this type of quilt.
ReplyDeleteGood luck with this Marcia! I really do enjoy hand work, but wanted a quick way to try this. I've heard of Sujatah Shah and would love to see her videos.
DeleteThank you for the great pictures and the description of steps. This project sounds like something I'd love to make.
ReplyDeleteThanks Gilberto! The handmade ones are SO lovely, But this is a quick way to make one. Good luck with yours
DeleteWow this is awesome !! Thank you so much for sharing x
DeleteI love the idea, but how do you connect all the different squares?
ReplyDeleteHi Marie. The squares aren't actually connected. They just lie on top of each other and the top stitching keeps them in place. Be sure to turn under the exposed edges for a finished look. Good luck!
DeleteHello, you don't connect these squares. If you want to make a larger piece, you have to start with a larger backing and batting piece. So if you want a piece that is 60" x 60" you have to start with the background that size. If I was doing this, I would baste the batting to the backing at least every 10 to 12 inches or so to avoid batting shift. I've never done this! I would love to see someone's project done this way.
DeleteGreat tutorial! Thank you:)
ReplyDeleteDo the inner patches have to have turned under edges before placing them on the batting or is that strictly a design decision for a more "polished" look to the piece?
ReplyDeleteThis is the way the traditional Kawandi are made, but if you are using a tight weave fabric and/or like that raw edge look, then go for it! I'll be glad to see the result ;-)
DeleteHi! I’m in the process of making my first Kawandi lap quilt by hand. I should have started with something a little smaller. I had to put it aside for a while so my poor fingers could heal 😂! But I’m already planning a “quilt as you go” queen size quilt for my bed! My plan is to make 63 12 inch squares. When they are finished I will slip stitch them together on the front and the back to make it fit the bed! I’d love to hear you thoughts!
ReplyDelete